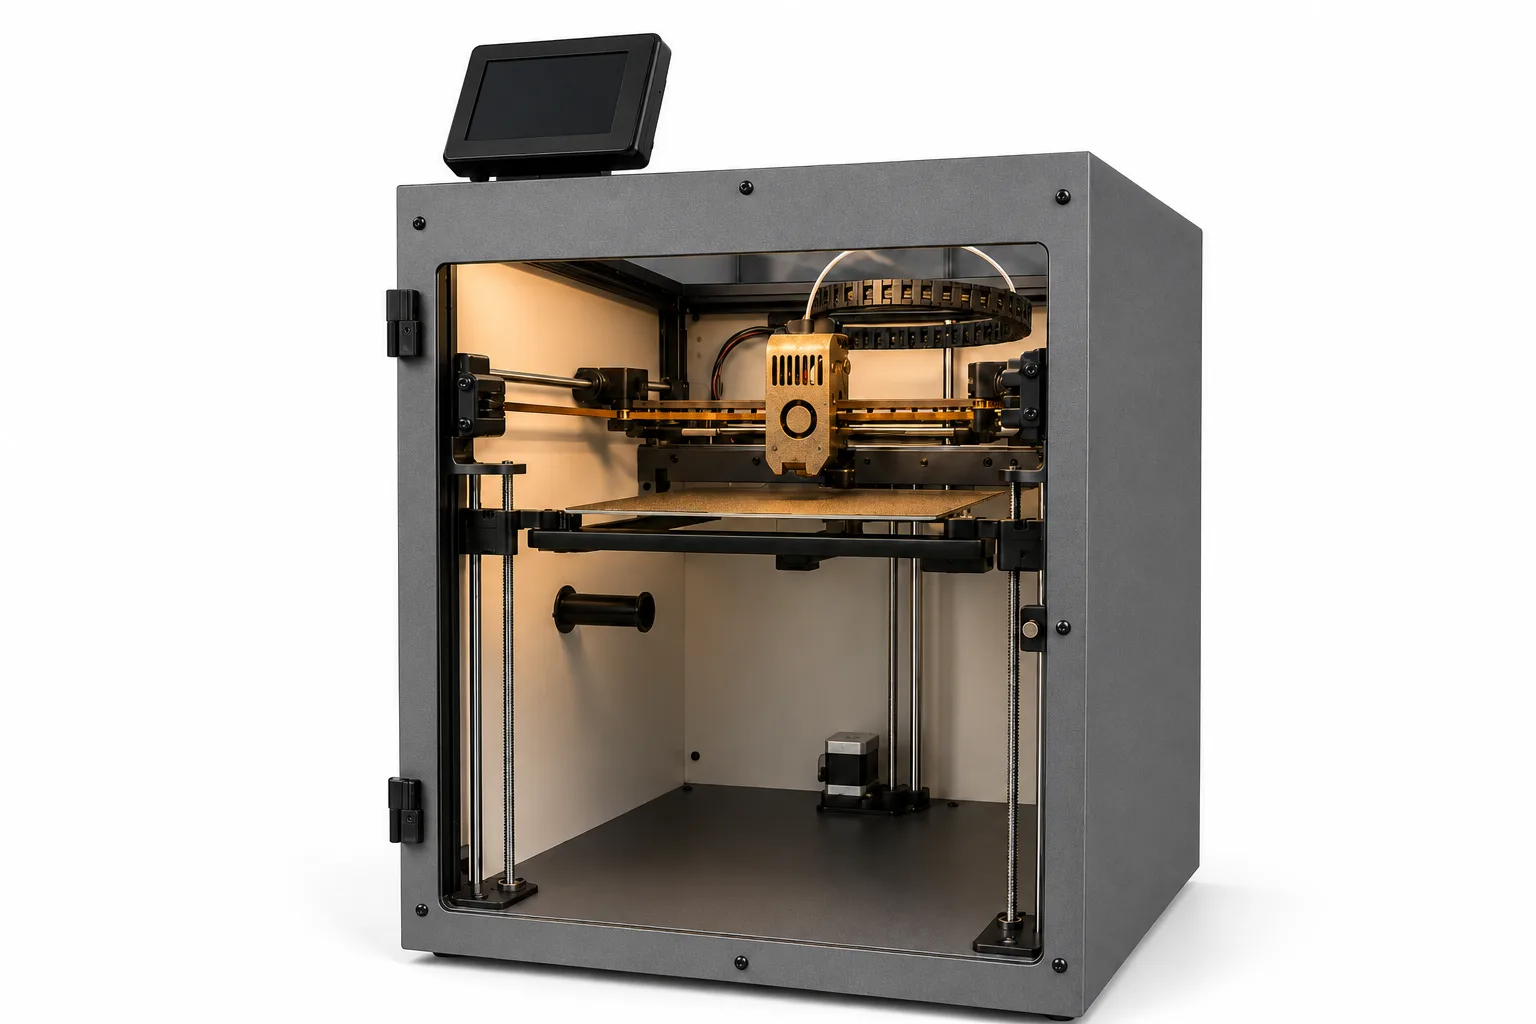
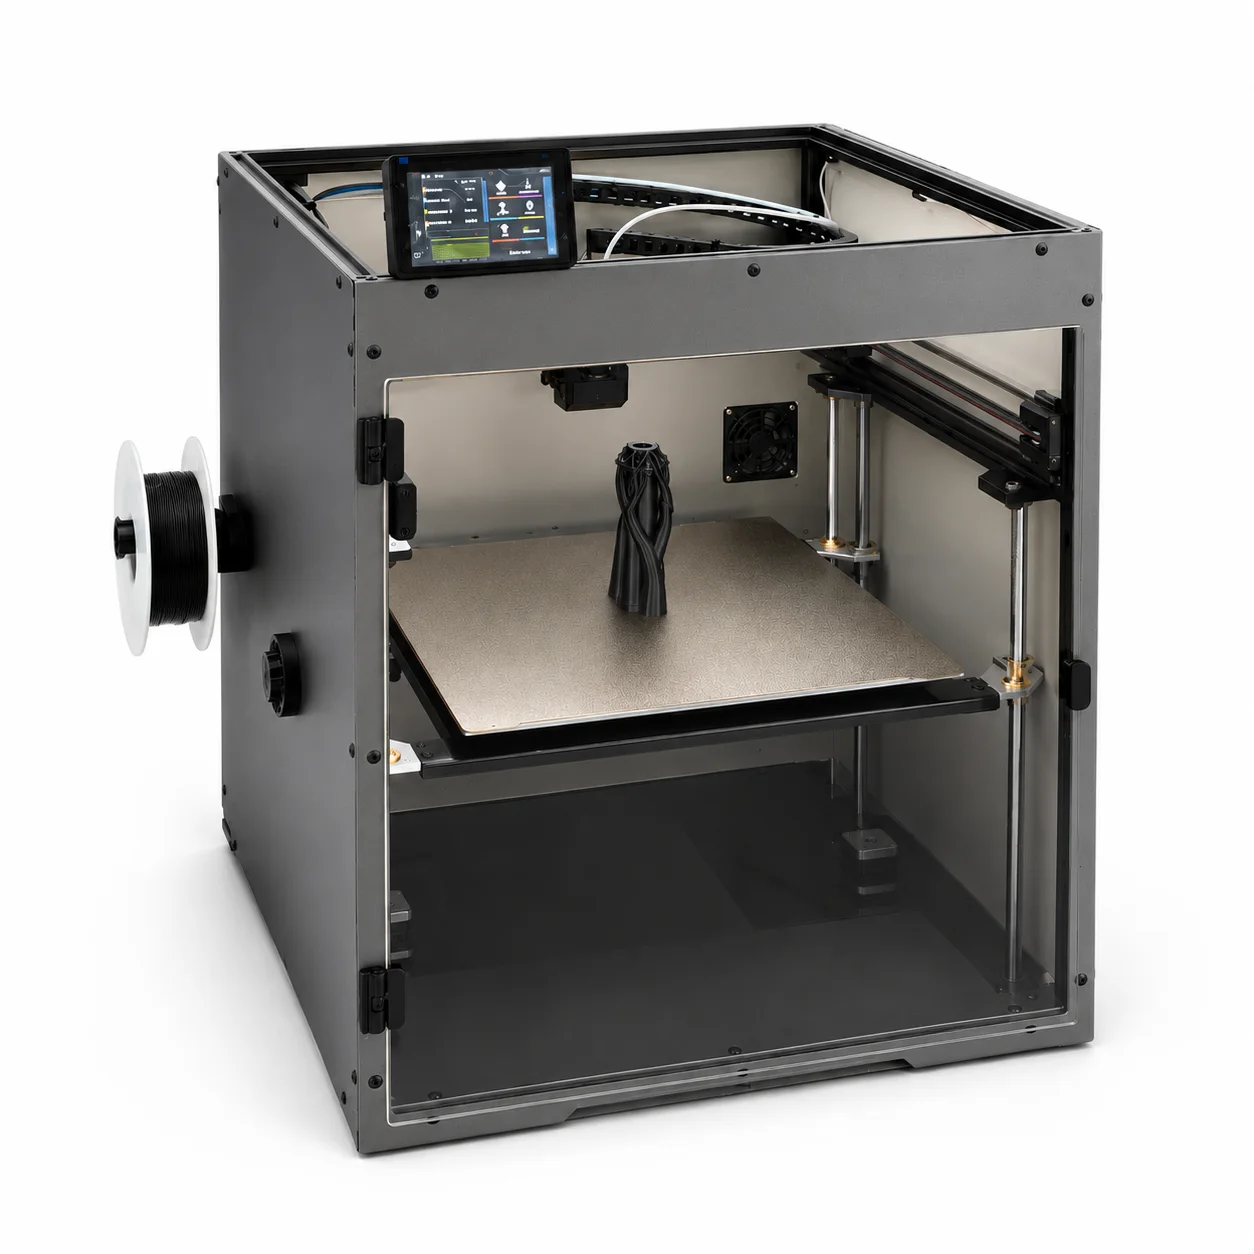
Panel reference
Bed Mesh panel
Per-material first-layer compensation
Where More → Bed MeshControls 5
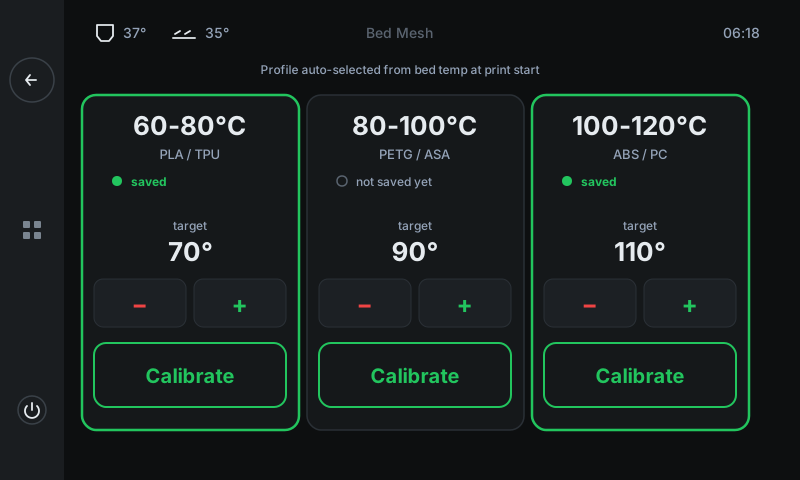
Three temperature-range cards (60 – 80 °C / 80 – 100 °C / 100 – 120 °C) — one for each common material category. Each card stores its own mesh profile. The right profile auto-loads at print start based on the G-code's bed temperature.
 12345
1234560 – 80 °C card
Mesh for PLA / TPU.
Stores the bed mesh measured at this card's target temperature. Green border + 'saved' marker means the profile exists. Grey border + 'not saved yet' means you need to calibrate before printing in this range.80 – 100 °C card
Mesh for PETG / ASA.
Same shape — separate mesh because PETG / ASA bed temperatures bow the plate differently than PLA's. Worth measuring before your first PETG print.100 – 120 °C card
Mesh for ABS / PC.
Highest-temp mesh. ABS / PC bow the most — this mesh makes the biggest difference to first-layer quality.Target temperature
Exact temp to mesh at.
The bed temperature the mesh will be measured at when you tap Calibrate. ± steps in 1 °C increments inside the card's range. Most users leave this at the default and don't tweak it.Calibrate button
Runs the full mesh cycle.
Tap to heat → home → probe a ~25-point grid → SAVE_CONFIG. Total time ~5 minutes. Printer auto-returns to this panel when done; the freshly-saved card now has the green border.
Good to know
- If no profile matches the print's bed temperature, the printer falls back to a flat plane (no compensation). The print will still work — it just won't track bed bow.
- Re-mesh after physical changes: new build plate, removed and reseated the bed, swapped probe. Otherwise once a year is usually plenty.